 Pin this
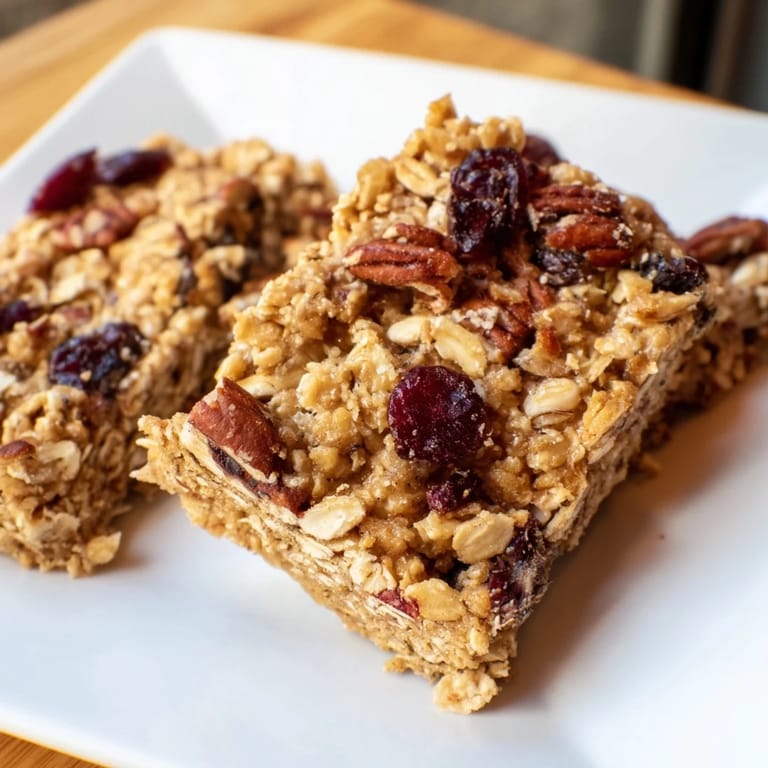
 My kitchen smelled like maple and cinnamon for three days straight after I first made these bars, and honestly, I wasn't mad about it. I'd been standing in the pantry at 6 AM, half-asleep, wondering why I kept reaching for the same sad granola bar when I could make something that actually tasted like breakfast instead of cardboard. These bars changed that. Now I bake them every other Sunday, and by Wednesday they're gone—not because they disappear into lunchboxes, but because I keep sneaking them with my coffee.
I brought a batch to my neighbor's house one morning, still warm from the cooling pan, and watched her teenage son reach for a second one without even asking. That's when I knew I'd nailed something. Suddenly this wasn't just a recipe—it was the thing people asked for when they popped by. It became my shortcut gift, my "I was thinking of you" in bar form.
Ingredients
- Old-fashioned rolled oats (2 cups): Don't use instant oats here—they'll turn these into mush. The thicker rolled oats keep their shape and give you something to bite into, which is why the texture matters so much.
- Whole wheat flour (1 cup): This adds earthiness and makes the bars feel like real food instead of a sugar delivery system. If you only have all-purpose, it'll work, but the whole wheat changes the whole personality of the thing.
- Ground cinnamon (1 tsp): Buy the good stuff if you can—the difference between grocery store cinnamon and real cinnamon is the difference between a pretty good bar and one you'll daydream about.
- Baking powder (1/2 tsp): This gives them a gentle lift so they don't feel heavy or dense, just substantial.
- Salt (1/4 tsp): A tiny amount that makes the maple shine instead of fading into sweetness.
- Pure maple syrup (1/2 cup): Don't use the pancake syrup—it's thin and lacks personality. Real maple syrup is what makes these special, turning them into something you'd actually want to eat.
- Unsalted butter or coconut oil (1/4 cup melted): The melted butter creates a tender crumb and helps everything bind without making them greasy. Coconut oil works perfectly if you're dairy-free, though it shifts the flavor slightly.
- Unsweetened applesauce (1/4 cup): This is the secret to keeping these moist without needing extra oil. It also adds a subtle tang that balances the maple sweetness.
- Large egg (1): Acts as a binder and helps everything hold together when you cut the bars.
- Vanilla extract (1 tsp): A small detail that deepens all the other flavors.
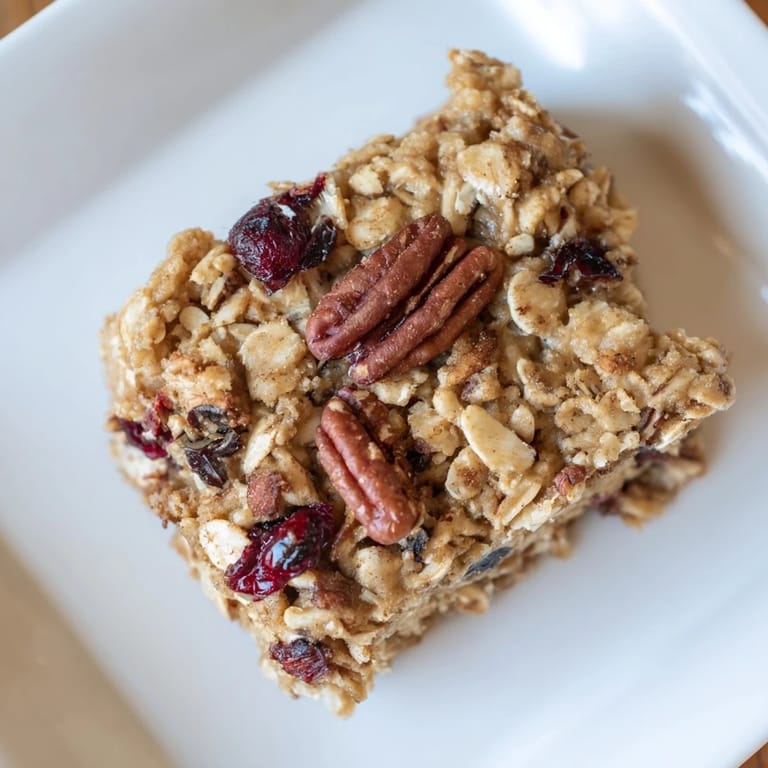
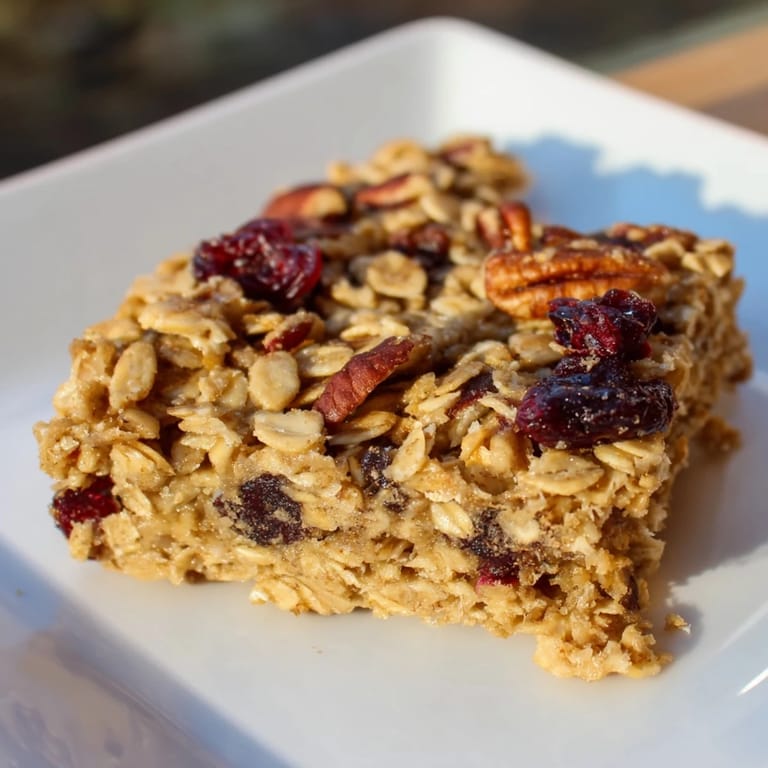
- Chopped nuts (1/3 cup optional): Walnuts add a slight bitterness that prevents these from being cloying, while pecans lean richer. If you add them, you'll taste the difference in every bite.
- Dried fruit (1/3 cup optional): Raisins plump back up slightly in the batter and create pockets of sweetness; cranberries add tartness that cuts through the maple nicely.
Tired of Takeout? 🥡
Get 10 meals you can make faster than delivery arrives. Seriously.
One email. No spam. Unsubscribe anytime.
Instructions
- Set your stage:
- Preheat your oven to 350°F and line an 8x8-inch pan with parchment paper, letting it hang over the sides a bit. This takes two minutes and saves you twenty minutes of frustration when you're trying to wrestle the baked bars out of the pan.
- Build the dry foundation:
- In a large bowl, combine the oats, whole wheat flour, cinnamon, baking powder, and salt. Mix it really well so the leavening agent and salt are evenly distributed—you want no surprises when you bite into any corner of the pan.
- Blend the wet elements:
- In another bowl, whisk together the maple syrup, melted butter, applesauce, egg, and vanilla until it looks smooth and cohesive. This usually takes about thirty seconds of whisking, and you'll know it's ready when you don't see streaks of egg anymore.
- Marry them together:
- Pour the wet mixture into the dry ingredients and fold them together gently until you see no dry pockets of flour. This should feel effortless and take about twenty to thirty seconds—overmixing makes them tough, and that's not what we're after here.
- Add the texture elements:
- Fold in the nuts and dried fruit if you're using them, then spread the batter evenly into your prepared pan. Smooth the top with a spatula so everything bakes at the same rate.
- Transform them in the oven:
- Bake for 22 to 25 minutes, checking around minute twenty-two. The edges should be turning golden, and a toothpick inserted in the center should come out clean with maybe a few moist crumbs clinging to it—that's perfect.
- Let them rest:
- Cool completely in the pan before you even think about cutting into them. This seems like forever, but it lets them set up properly so you can actually cut clean bars instead of getting a crumbly mess.
- Slice and separate:
- Once fully cooled, use the parchment overhang to lift the whole slab out, then cut into twelve pieces. A sharp knife dipped in hot water between cuts helps if you want clean edges.
 Pin this
 These bars became what I reach for when I need a breakfast that doesn't feel like deprivation, or a snack that carries me through the afternoon slump without the crash. There's something deeply satisfying about eating something you made yourself, especially when it tastes this good.
Storage and Longevity
These bars live happily in an airtight container at room temperature for about five days, which is exactly the timeframe before most of them vanish anyway. If you want them to last longer, freeze them individually wrapped in plastic wrap or parchment paper—they thaw in about thirty minutes at room temperature, or you can eat them straight from the freezer and they'll thaw as you bite into them.
Variations That Actually Work
Once you've made these once, you'll start seeing them as a canvas. I've made a vegan version with a flax egg (1 tablespoon ground flaxseed mixed with 3 tablespoons water, sitting for five minutes) and no one could tell the difference. I've added chocolate chips in the final fold, swapped half the maple syrup with honey to change the depth, and even spread a thin layer of almond butter between the batter and the pan before baking, which created this incredible ribboned effect. The base recipe is sturdy enough to handle whatever you want to throw at it.
Breakfast Ideas and Pairings
These bars are genuinely good on their own, but they transform into something more substantial when paired with other foods. I like eating one with a cup of strong coffee and it feels like an actual breakfast ritual instead of scarfing something down. On days when I want more protein, I'll pair a bar with Greek yogurt and fresh berries—the tartness of the berries plays beautifully against the maple sweetness. They're also excellent alongside a handful of almonds and a glass of milk for a quick pick-me-up that keeps hunger at bay.
- Try them warm with a drizzle of extra maple syrup and a dollop of Greek yogurt for dessert energy.
- Pack them in your bag for hiking, road trips, or that moment when you realize you forgot to eat lunch.
- Crumble them over ice cream on a lazy summer evening for a makeshift parfait.
 Pin this
 These bars prove that breakfast doesn't have to be complicated to be nourishing and delicious. Make them once and you'll understand why they've become such a regular part of my kitchen routine.
Recipe Questions
- → Can I make these bars vegan?
Yes, substitute the egg with a flax egg made from ground flaxseed and water for a vegan version.
- → How should I store the bars?
Store in an airtight container at room temperature for up to 5 days or freeze for longer freshness.
- → What nuts work best if added?
Chopped walnuts or pecans provide great texture and flavor but can be omitted if preferred.
- → Can I add chocolate chips or seeds?
Yes, adding chocolate chips or seeds is a tasty variation to enhance flavor and nutrition.
- → What is the best way to remove bars from the pan?
Line the pan with parchment paper with an overhang to lift the bars out easily once cooled.
- → Are these bars gluten-free?
No, they contain whole wheat flour and rolled oats, which are not gluten-free unless certified as such.