 Pin this
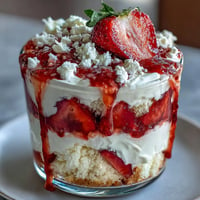
 My sister stopped mid-sentence when I brought this cake to the table, still warm under its glossy coat of icing. She's not one to go quiet over dessert, but the scent alone—dark chocolate mingling with butter and a whisper of vanilla—had her reaching for a fork before I'd even set it down. That was three birthdays ago, and she's requested it every year since. It's the kind of cake that doesn't need an occasion, though it certainly rises to one.
I made this for a rainy Sunday tea once, no guests expected, just me and a craving I couldn't ignore. The kitchen steamed up as the cakes baked, and I sat by the oven with a mug of something hot, watching the tops crack and puff. When I finally iced it, I ate a slice standing at the counter, straight from the palette knife. Sometimes the best meals are the ones no one else sees.
Ingredients
- Unsalted butter (200 g for cake, 100 g for icing): Use proper butter here, not margarine, the flavour is richer and it melts into the chocolate like silk.
- Dark chocolate (200 g for cake, 150 g for icing, minimum 50% cocoa solids): I've tried this with cheap cooking chocolate and with the good stuff, the difference is night and day, go for quality if you can.
- Light brown sugar (250 g): The slight molasses note adds depth and keeps the crumb soft and tender for days.
- Large eggs (3): Room temperature eggs whisk up fluffier, I learned that after one dense attempt straight from the fridge.
- Plain flour (200 g): Don't be tempted to swap in self-raising, the baking powder is measured separately for a reason.
- Baking powder (1 ½ tsp): Fresh baking powder makes all the difference, if yours has been sitting in the cupboard for a year, replace it.
- Fine sea salt (¼ tsp): Just enough to sharpen the chocolate without tasting salty, it's a quiet hero.
- Cocoa powder (50 g): Sift this or you'll end up with bitter little pockets in the batter, I've been there.
- Whole milk (150 ml for cake, 3 tbsp for icing): Full-fat milk makes the crumb softer and the icing smoother, skimmed milk just doesn't cut it here.
- Vanilla extract (1 tsp): Real extract, not essence, the warmth it adds is subtle but essential.
- Icing sugar (200 g, sifted): Sifting is non-negotiable unless you fancy a grainy icing, which I once served and regretted.
Tired of Takeout? 🥡
Get 10 meals you can make faster than delivery arrives. Seriously.
One email. No spam. Unsubscribe anytime.
Instructions
- Prep your tins:
- Preheat the oven to 180°C (160°C fan) and grease two 20 cm round tins generously, then line the bases with baking paper. I once skipped the greasing and spent twenty minutes prying out stuck cake, never again.
- Melt the chocolate and butter:
- Set a heatproof bowl over a pan of barely simmering water, add the 200 g butter and 200 g chopped dark chocolate, and stir now and then until it's completely smooth and glossy. Let it cool for a few minutes so it doesn't scramble the eggs later.
- Whisk the eggs and sugar:
- In a large bowl, whisk the sugar and eggs together until the mixture is pale, thick, and leaves a ribbon trail when you lift the whisk. This takes about three minutes by hand, less with an electric whisk.
- Combine wet ingredients:
- Stir the melted chocolate mixture into the eggs and sugar, followed by the vanilla extract, and mix until everything is evenly blended and shiny.
- Sift the dry ingredients:
- In another bowl, sift together the flour, baking powder, salt, and cocoa powder. Sifting might feel old-fashioned, but it stops lumps and aerates the mix.
- Fold and combine:
- Gently fold the dry ingredients into the wet mixture in three additions, alternating with splashes of milk, until the batter is smooth and just combined. Overmixing will make the cake tough, so stop as soon as the flour disappears.
- Divide and bake:
- Split the batter evenly between the two tins, smooth the tops, and bake for 30 to 35 minutes. A skewer poked into the centre should come out with a few moist crumbs clinging, not wet batter.
- Cool the cakes:
- Let the cakes rest in their tins for 10 minutes, then turn them out onto a wire rack to cool completely. Icing a warm cake will melt the frosting into a puddle, patience pays here.
- Make the icing:
- Melt the 150 g chocolate and 100 g butter together over simmering water, then remove from the heat. Gradually beat in the sifted icing sugar and milk until the icing is smooth, glossy, and spreadable.
- Assemble and ice:
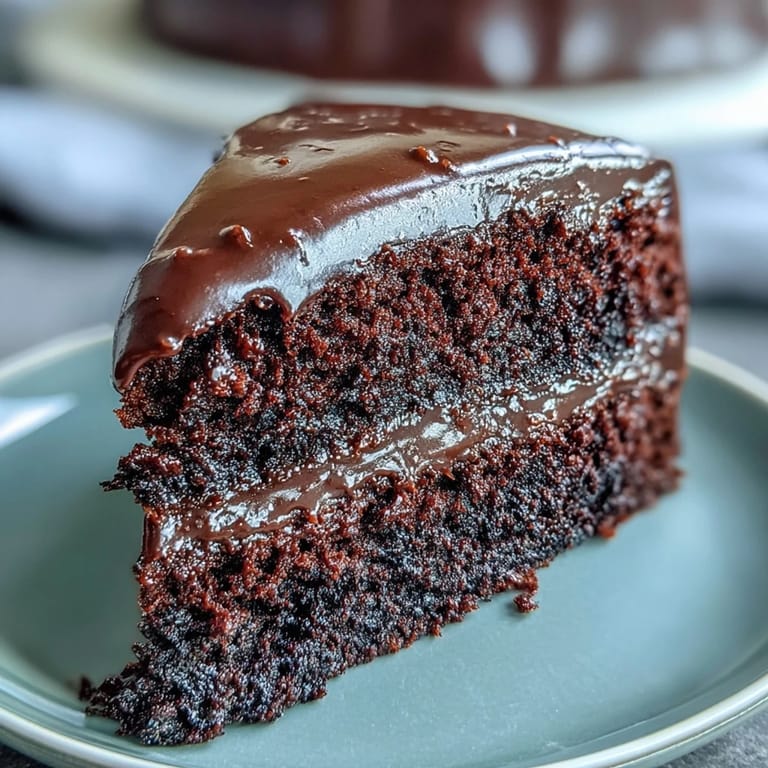
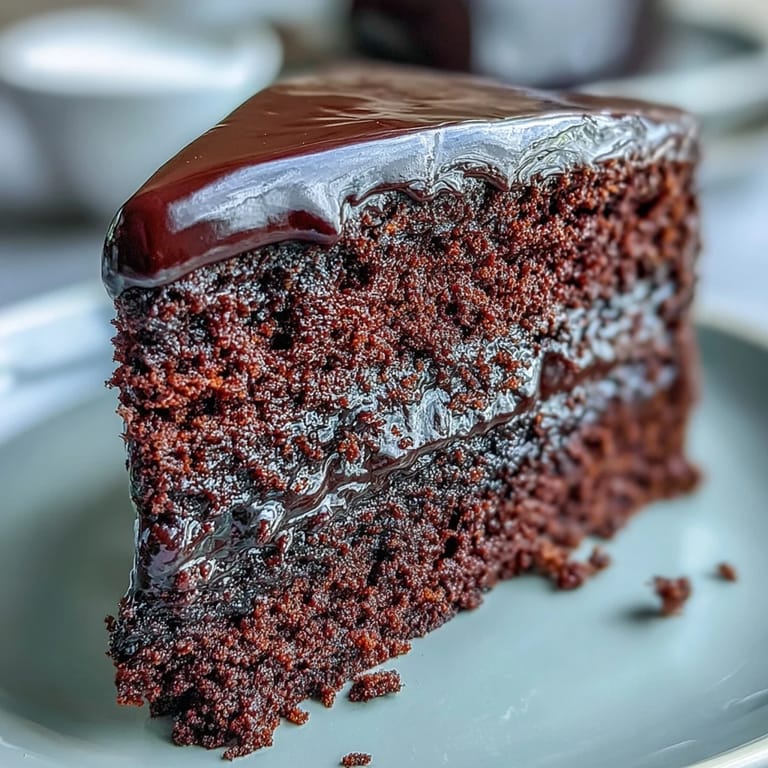
- Place one cake layer on your serving plate, spread a third of the icing over the top, then gently press the second layer on. Cover the top and sides with the remaining icing, using a palette knife to smooth it into soft swirls.
 Pin this
 This cake was on the table when I told my best friend I was moving abroad, and somehow the sweetness made the goodbye a little less sharp. We ate two slices each and talked until the candles burned low. Food has a way of holding memories like that, soft and bittersweet all at once.
How to Store and Serve
This cake keeps beautifully in an airtight container at room temperature for up to three days, and the flavour actually deepens as it sits. I've found it tastes even more fudgy on day two, when the icing has set properly and the crumb has had time to settle. If you're making it ahead, bake and cool the cakes the night before, then ice them on the day you need them. Serve it at room temperature with a dollop of whipped cream or a handful of fresh raspberries to cut through the richness.
Variations Worth Trying
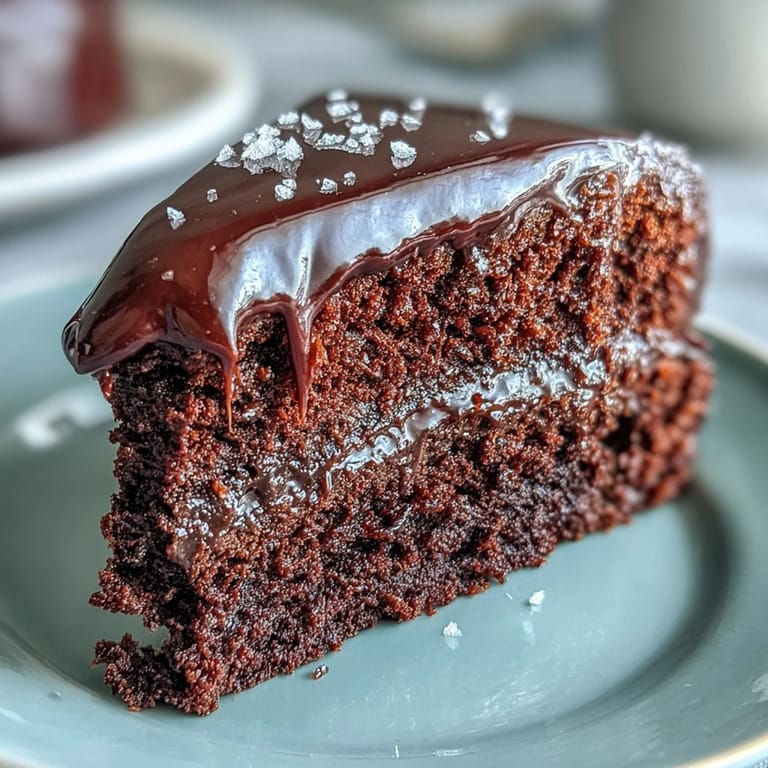
I once spread a thin layer of raspberry jam between the cake layers, and the tart fruit made every bite feel more complex and grown-up. You could also fold in a handful of chopped hazelnuts or walnuts into the batter for crunch, or swap the vanilla extract for a teaspoon of espresso powder to deepen the chocolate flavour. If you're feeling bold, a pinch of sea salt flakes scattered over the icing just before it sets adds a lovely savoury contrast.
What You'll Need to Get Started
You'll want two 20 cm round cake tins, a couple of mixing bowls, and an electric whisk if you have one, though a hand whisk and a bit of elbow grease will do the job. A heatproof bowl and a small saucepan are essential for melting the chocolate, and a palette knife or offset spatula makes icing the cake much easier. Don't skip the wire rack for cooling, trying to ice a cake that's still sitting in its tin is a recipe for frustration.
- Line your tins carefully, uneven paper can leave creases in the cake that show through the icing.
- Use a skewer or cake tester to check doneness, not a knife, which can drag crumbs and give a false reading.
- Keep a damp cloth nearby when icing, wiping the palette knife between swipes gives you cleaner, smoother edges.
 Pin this
 There's something quietly triumphant about pulling a cake like this from the oven, glossy and perfect, knowing it's going to make someone's day a little sweeter. I hope it does the same for you.
Recipe Questions
- → Can I use milk chocolate instead of dark chocolate?
Yes, you can substitute milk chocolate, but the cake will be sweeter and less rich. Dark chocolate with at least 50% cocoa solids provides the best depth of flavor and fudgy texture.
- → How do I know when the cake is properly baked?
Insert a skewer into the center of the cake. It should come out with a few moist crumbs attached, not wet batter. The cake should also spring back lightly when touched and pull away slightly from the tin edges.
- → Can I make this cake in advance?
Absolutely. The unfrosted cake layers can be wrapped tightly and stored for up to 2 days at room temperature or frozen for up to 3 months. The finished iced cake keeps well in an airtight container for up to 3 days.
- → What can I add between the cake layers?
For extra indulgence, spread a layer of raspberry jam, chocolate ganache, or whipped cream between the layers. Fresh berries also add a lovely contrast to the rich chocolate flavor.
- → Why is my icing too thick or too runny?
If the icing is too thick, add a little more milk, one teaspoon at a time. If it's too runny, add more sifted icing sugar or let it cool slightly to thicken. The icing should be smooth and spreadable but hold its shape.
- → Can I make this cake gluten-free?
Yes, substitute the plain flour with a gluten-free flour blend designed for baking, using the same measurements. Ensure your baking powder is also gluten-free and check all chocolate labels for gluten content.