 Pin this
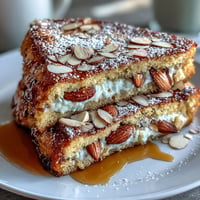
 My neighbor Mariam brought me a tray of konafa one evening after Ramadan, still warm from her oven, the edges crackling like autumn leaves. I'd never tasted anything like it: sweet, buttery, impossibly crisp, with that floral syrup pooling in the corners. She showed me how to work the kataifi dough the next afternoon, her hands moving quickly, gently pulling the strands apart without tearing them. That was the beginning of my love affair with this golden, layered masterpiece.
I made this for my daughter's birthday last spring, and she insisted on helping me layer the kataifi even though her small fingers kept tangling the strands. We laughed until we cried, and when it came out of the oven golden and perfect, she declared it better than cake. Now she asks for it every year, and I wouldn't dream of saying no.
Ingredients
- Kataifi dough: This shredded phyllo is delicate, so thaw it gently in the fridge overnight and keep it covered with a damp towel while you work to prevent drying.
- Unsalted butter: Melted butter is the key to crisp, golden layers, and using unsalted lets you control the sweetness without any salty interference.
- Walnuts, pistachios, and almonds: The trio gives you earthy depth, vibrant color, and a satisfying crunch, but feel free to swap in hazelnuts or pecans if that's what you have.
- Ground cinnamon and cardamom: These warm spices add a subtle aromatic lift that makes the filling feel alive, not just sweet.
- Honey syrup with rose or orange blossom water: This is where the magic happens, the floral note transforms simple syrup into something that tastes like a garden in bloom.
Tired of Takeout? 🥡
Get 10 meals you can make faster than delivery arrives. Seriously.
One email. No spam. Unsubscribe anytime.
Instructions
- Prep the pan and dough:
- Preheat your oven to 180C and grease your pan generously so the bottom layer releases cleanly later. Gently pull apart the kataifi strands with your fingers, working slowly to keep them intact and airy.
- Build the base layer:
- Press half the kataifi into the pan, creating an even nest, then drizzle half the melted butter over it, making sure every strand glistens.
- Add the nut filling:
- Mix your chopped nuts with sugar, cinnamon, and cardamom, then spread the mixture evenly across the buttered kataifi. This layer is the heart of the dessert, so don't rush it.
- Top and butter again:
- Cover with the remaining kataifi, pressing gently to seal in the filling, then pour over the rest of the butter, letting it soak into every crevice.
- Bake until golden:
- Slide it into the oven and bake for 30 to 35 minutes, watching for that perfect honey gold color and the sound of sizzling butter. The edges should be crisp enough to snap.
- Make the syrup:
- While the konafa bakes, combine sugar and water in a saucepan, bring to a boil, then simmer until it thickens slightly before stirring in honey, lemon juice, and floral water.
- Drench and rest:
- The moment the konafa comes out, pour the warm syrup over the hot pastry, listening to it hiss and crackle as it soaks in. Let it cool for 30 minutes so the layers set and the syrup distributes evenly.
 Pin this
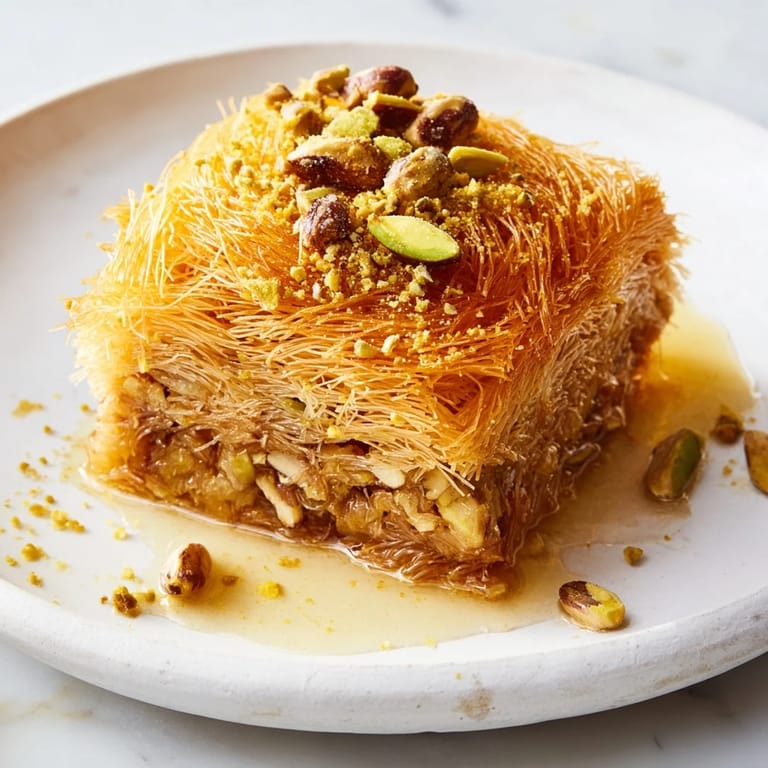
 One evening I brought a tray to a potluck, worried it wouldn't travel well, but it arrived intact and disappeared in minutes. A friend pulled me aside later and said it reminded her of her grandmother's kitchen in Cairo, and she hadn't tasted that in years. That's when I realized this dessert isn't just food, it's memory, tradition, and comfort all pressed into golden layers.
Variations to Try
Some families tuck a thin layer of sweetened ricotta or clotted cream between the kataifi layers, which adds a cool, creamy contrast to the crunchy sweetness. I've also made this with a mix of hazelnuts and cashews when pistachios were too expensive, and it turned out beautifully nutty and rich. If you want a lighter finish, drizzle just half the syrup and serve the rest on the side for people to add as they like.
Serving Suggestions
Konafa is best served at room temperature with strong black coffee or mint tea to balance the sweetness. I love adding a handful of fresh raspberries or pomegranate seeds on the side for a tart, juicy burst that cuts through the richness. On special occasions, a small dollop of lightly whipped cream or vanilla ice cream makes it feel like a celebration.
Storage and Make Ahead Tips
You can assemble the konafa a few hours ahead and keep it covered in the fridge, then bake it just before serving so it's warm and crisp. Leftovers keep well covered at room temperature for two days, though the edges soften a bit as the syrup continues to soak in. I've also frozen baked konafa before adding syrup, then thawed, warmed, and drizzled it fresh, which worked surprisingly well for last minute gatherings.
- Store in an airtight container to prevent the top from drying out.
- Reheat gently in a low oven to restore some of the crispness if needed.
- Keep leftover syrup refrigerated and use it to sweeten yogurt or drizzle over pancakes.
 Pin this
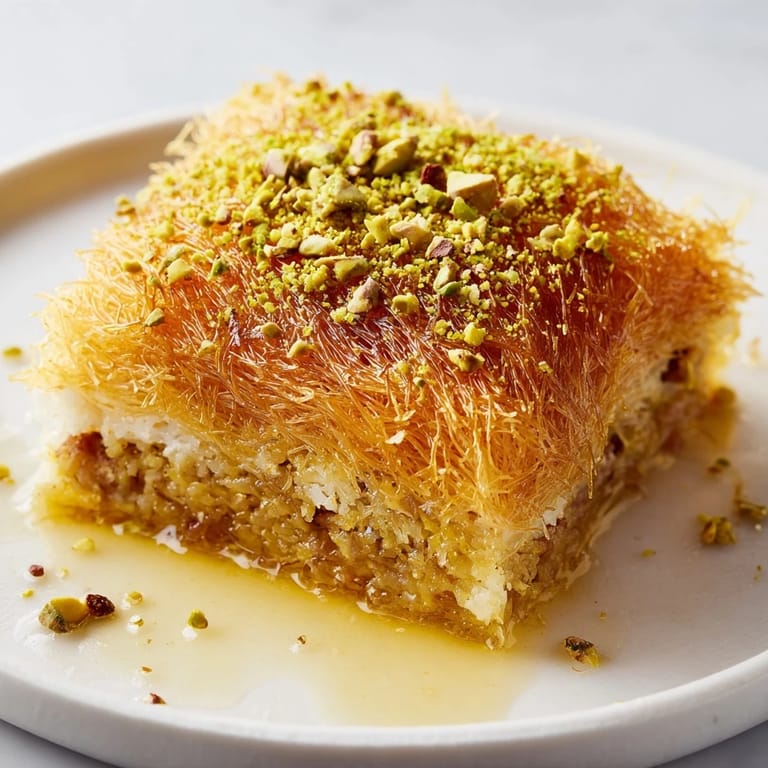
 This is the kind of dessert that turns an ordinary evening into something special, the kind that makes people lean back in their chairs and sigh with contentment. I hope it brings as much joy to your table as it has to mine.
Recipe Questions
- → What is the best way to handle kataifi dough?
Gently loosen the shredded strands with your fingers to avoid breaking. Keep it covered with a damp cloth to prevent drying while assembling.
- → Can I use other nuts in the filling?
Yes, hazelnuts, cashews, or pecans can be substituted to suit taste preferences or availability.
- → Why is melted butter important in this dish?
Melted butter evenly coats the kataifi layers, ensuring a rich flavor and crisp, golden texture after baking.
- → How is the honey syrup prepared?
Sugar and water are boiled and simmered, then combined with honey, lemon juice, and optionally floral water for a fragrant, balanced syrup.
- → Can I add a creamy layer within the kataifi?
For extra richness, a sweetened ricotta or clotted cream layer can be added between kataifi layers before baking.