 Pin this
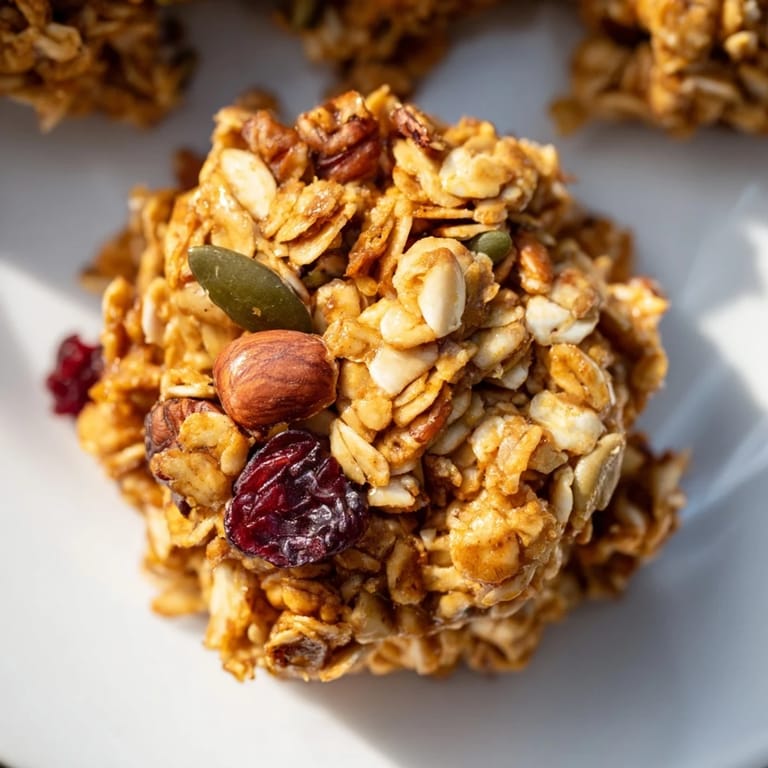
 My kitchen counter was sticky with honey, the oven timer was beeping, and I was convinced I'd ruined everything. The granola looked too wet, too loose, nothing like the crunchy golden clusters I'd imagined. But I left it alone to cool, resisting the urge to poke at it, and when I came back an hour later, it had transformed into the most satisfying, crunchy clusters I'd ever tasted. That messy morning taught me that sometimes the best thing you can do in the kitchen is step back and let things happen on their own.
I started making this for my sister when she was training for a marathon and needed quick energy snacks. She'd grab a handful before heading out the door at dawn, and I loved knowing she had something homemade fueling her miles. Eventually, her running friends started asking for batches too, and I realized this simple recipe had become my accidental love language. Now I keep a jar of it on the counter at all times, because you never know when someone might need a little crunch and sweetness in their day.
Ingredients
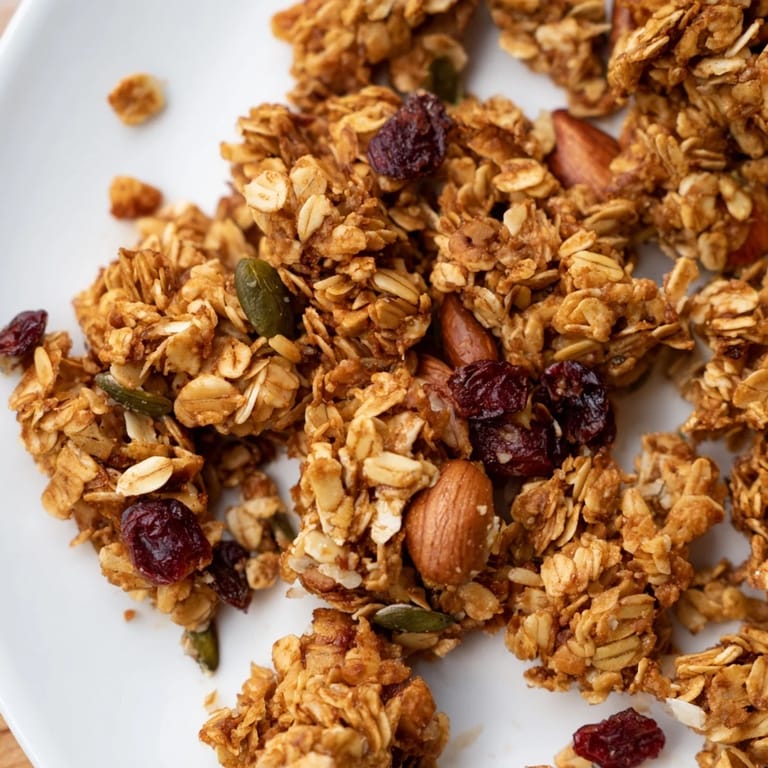
- Old-fashioned rolled oats: The foundation of every good granola, these sturdy oats hold their shape and get beautifully toasted without turning to dust.
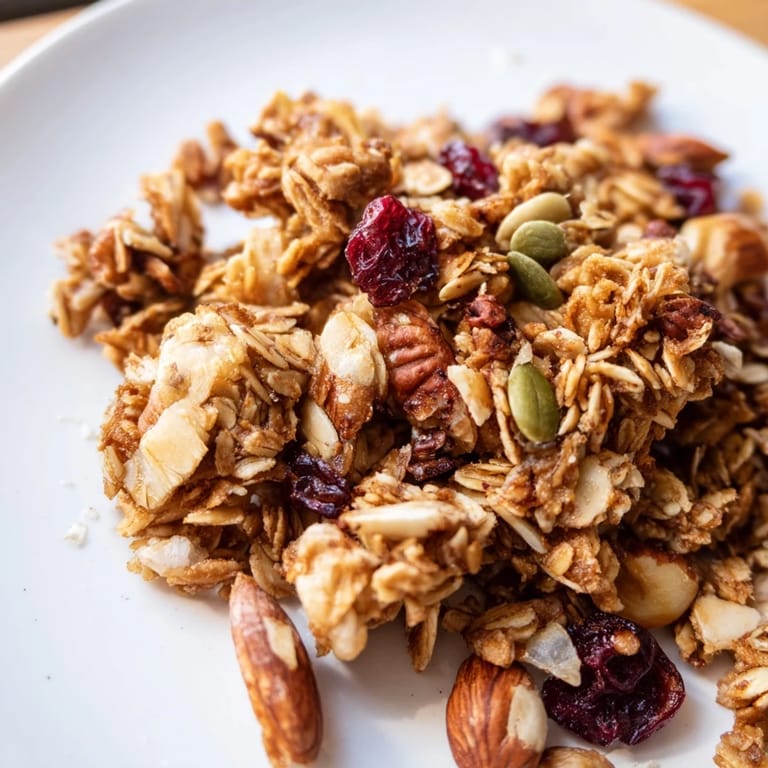
- Mixed nuts: I usually grab whatever looks good, almonds for crunch, pecans for buttery richness, walnuts for earthy depth, and chop them coarsely so you get big satisfying bites.
- Shredded unsweetened coconut: This adds a tropical sweetness and extra texture, but if you're not a coconut person, just leave it out and add more seeds instead.
- Pumpkin seeds or sunflower seeds: These little guys toast up beautifully and add a nutty flavor plus a nice boost of protein and minerals.
- Ground cinnamon: Just enough to warm everything up without making it taste like a candle, it ties all the flavors together.
- Fine sea salt: Never skip the salt, it makes the sweetness sing and keeps the granola from tasting flat.
- Honey: The magic ingredient that makes everything stick together into those coveted clusters, plus it caramelizes slightly in the oven for deep flavor.
- Melted coconut oil: This helps everything crisp up and adds a subtle richness, though any neutral oil works if you don't have coconut on hand.
- Vanilla extract: A small splash that makes the whole batch smell like heaven and adds warmth you didn't know you needed.
- Dried fruit and chocolate chips: Always add these after baking or they'll burn, I learned that the hard way with a batch of charred cranberries.
Tired of Takeout? 🥡
Get 10 meals you can make faster than delivery arrives. Seriously.
One email. No spam. Unsubscribe anytime.
Instructions
- Preheat and Prep:
- Set your oven to 325°F and line a big baking sheet with parchment paper. This lower temperature lets everything toast slowly and evenly without burning the edges.
- Mix the Dry Ingredients:
- Toss the oats, nuts, coconut, seeds, cinnamon, and salt together in your largest bowl until everything is evenly distributed. Take a moment to appreciate how good raw granola already smells.
- Whisk the Wet Ingredients:
- In a smaller bowl, whisk together the honey, melted coconut oil, and vanilla until it's smooth and glossy. The warmth from the oil helps everything combine easily.
- Coat Everything:
- Pour that sweet mixture over your dry ingredients and stir enthusiastically until every oat and nut is glistening. You'll notice clumps starting to form, which is exactly what you want for those clusters.
- Press It Down:
- Spread the mixture onto your prepared pan and use a spatula to press it down firmly into an even layer. This step is crucial, the pressure helps create those big beautiful clusters instead of loose crumbs.
- Bake Until Golden:
- Slide it into the oven for 22 to 25 minutes, rotating the pan halfway through so everything browns evenly. You'll know it's ready when the edges are golden and your kitchen smells incredible.
- Cool Completely:
- Here's the hardest part, let it cool on the pan without touching it for at least an hour. I know it's tempting to stir, but resist, that's how the clusters set and harden into crunchy perfection.
- Break and Store:
- Once cool, break the granola into chunks of whatever size you like, then mix in any dried fruit or chocolate chips. Transfer to an airtight container where it'll stay fresh and crunchy for weeks.
 Pin this
 There was a Sunday morning when I made a double batch and packed jars with ribbon for my neighbors. One came back the next week asking if I'd teach her how to make it, and we spent an afternoon in my kitchen, talking and measuring and laughing as honey dripped everywhere. She told me later that her kids fought over the last clusters, and that made me happier than any fancy compliment ever could. That's the thing about granola, it's not precious or complicated, but it has this way of bringing people together over something simple and good.
Storing Your Granola
I keep mine in a big glass jar on the counter where I can see it and remember to actually eat it. It stays crunchy for about three weeks at room temperature, though it never lasts that long in my house. If you live somewhere really humid, you might want to store it in the fridge to keep it crisp, just let it come to room temperature before eating so the flavors wake up. I've also frozen it in freezer bags for up to three months, which is great if you want to make a huge batch and parcel it out slowly.
Customizing Your Clusters
The beauty of this recipe is that it's more of a blueprint than a strict set of rules. I've made versions with cashews and dried mango for a tropical vibe, one with hazelnuts and cacao nibs for chocolate lovers, and a fall batch with extra cinnamon and dried apples. My brother likes his with cayenne pepper for a spicy kick, which sounds weird but is actually addictive. Once you nail the ratio of wet to dry ingredients, you can swap in whatever sounds good and it'll work.
Serving Suggestions
I eat this a dozen different ways depending on my mood and what's in the fridge. Sometimes I pour cold milk over a bowl and eat it like cereal, letting the clusters soften slightly but still keep their crunch. Other times I layer it with Greek yogurt and fresh berries for a quick breakfast that feels fancy. On busy mornings, I just grab a handful straight from the jar and call it breakfast as I run out the door.
- Sprinkle it over smoothie bowls for texture and a nutty sweetness that makes everything feel more substantial.
- Pack it in small containers for road trips or hiking, it's the perfect portable snack that won't get smooshed in your bag.
- Use it as a topping for baked apples or pears, the granola gets even crunchier under the broiler and pairs beautifully with warm fruit.
 Pin this
 This granola has become one of those recipes I don't even think about anymore, I just make it whenever the jar starts looking empty. It's forgiving, adaptable, and always makes me feel like I have my life together, even when everything else is a mess.
Recipe Questions
- → Why do my granola clusters fall apart?
Clusters need adequate binding. Ensure you're using enough honey and oil for even coating. After baking, let the granola cool completely on the pan without stirring—this allows the honey to set and hold the clusters together.
- → Can I make this vegan?
Yes, simply substitute maple syrup for honey. All other ingredients are plant-based. This works equally well and provides a slightly different flavor profile.
- → How do I store homemade granola clusters?
Once completely cooled, store in an airtight container at room temperature for up to two weeks. Keep dried fruits and chocolate chips separate until serving to maintain optimal texture and freshness.
- → Can I prepare clusters in advance?
Absolutely. Bake and cool fully, then store in airtight containers. They'll maintain their crunch for several days. Add mix-ins just before eating if you prefer maximum texture contrast.
- → What nuts work best for this?
Almonds, pecans, and walnuts are ideal, but any tree nuts work. Chop them coarsely to maintain texture. Avoid finely ground nuts, which can make clusters dense. Feel free to combine different varieties based on preference.
- → Should I toast nuts before using them?
Pre-toasting nuts enhances flavor but isn't required. Raw nuts work fine since they'll toast during baking. If toasting separately, do so briefly beforehand to prevent over-browning during the 25-minute bake time.